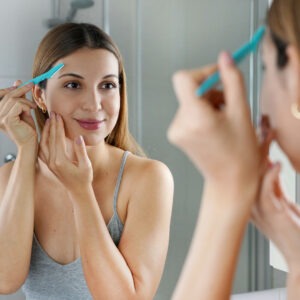
Dermaplaning (otherwise known as dermablading, epidermal blading or levelling), is the gentle removal of dead skin cells from the skin as well as the vellus hair (‘peach fuzz’) that grows on your face. This is the soft, downy hair that’s usually white in colour and is typically on the sides of the face and on the front of your neck and under your chin. The removal of this hair has become one of our most requested treatments in our clinic, and while not all women have lots of it, it typically becomes more prevalent as we age and enter into the perimenopausal age.
There are a few benefits of removing this hair such as;
- A smoother, more youthful appearance,
- Better makeup application,
- Increase skincare absorption,
- Evening skin texture, and
- The hair typically grows back slower and finer.
While we love to see our clients in for this treatment, we thought that we could also teach you how to remove the peach fuzz at home, in the same way that we do in our clinic.
Dermaplaning Facial at home
Prepare the area
As with all slightly invasive treatments, having a clean environment is super important. This includes using a blade that is new each time, and purchased sealed, with the cap on to avoid bacteria transfer.
The Tool
Our choice of dermaplaning tool is a single use surgical blade in our clinic, but you can purchase a tool that works well and is super cheap from the pharmacy. Something like this is good and it’s available at Priceline. There are also similar ones available at K-Mart. These are not stainless steel, so they will rust. This is why it is important to only use them once, then dispose of them.
Clean your skin
Dermaplaning your face works best on clean, exfoliated skin. This removes the chance of the blade getting snagged on dead skin cells and causing a cut.
Cleanse twice (we use Société Pure Everyday Cleanser), then exfoliate. When performing this treatment in the clinic, we use a granular exfoliant first (we use Société Micro Foaming Polish). Massage your exfoliator into the skin in gentle circular movements and rinse well.
We then use an enzyme based exfoliant (Societe Superfruit Enzyme Peel). This is also massaged into the skin, with damp fingertips, for around 2 to 3 minutes. Using a granular exfoliant followed by an enzyme exfoliant just ensures a super smooth surface to work on.
Warm your skin
Soak a hand towel or face washer in hot water and squeeze it out. Apply this warm compress to your face until you can feel the heat fade. Warming the skin will allow it to soften and the pores to open, making it easier for the fine hair to be removed.
Prepare the skin
Dry your skin off and add an oil to one side of your face. We start with the cheek. We use the Societe Massage Oil (professional product), but you can use any oil product you have. Olive oil or baby oil works really well. You don’t need much oil, just enough to create a good slip on the skin so that the blade runs smoothly over.
Doing one section of the face works best as you don’t really want the oil to stay on too long and absorb.
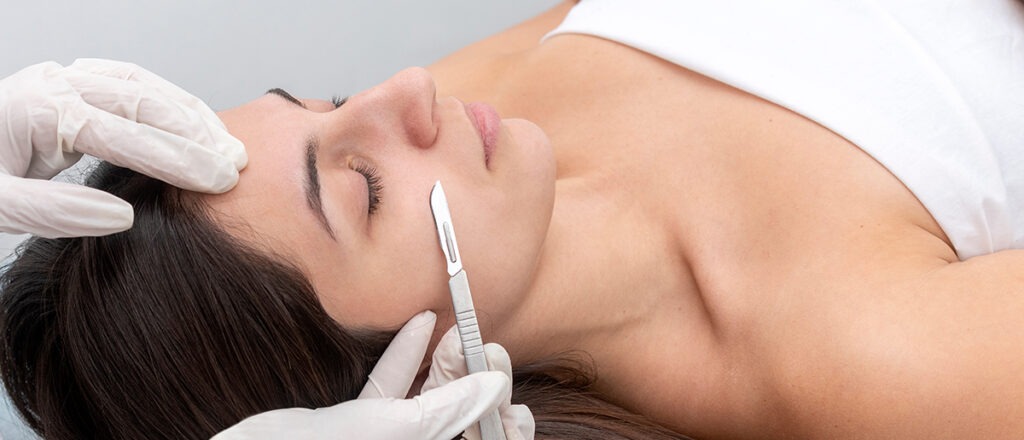
How to position the blade
This is the important part, because you don’t want to slice your face. You want the blade to be almost parallel to your skin, just like the image below. If you hold the blade on too much of an angle, it will cut into your skin, or remove the top surface of your skin. As you have already exfoliated, you don’t need to remove any more dead skin cells. This is also where you need to decide if dermaplaning at home is right for you. For some, with practice it will be efficient and economical, while others it might be better going to the professionals.
Using the blade
Holding the top of your cheek bone, pull the skin taught in an upwards direction with your opposite hand to the blade. Starting around the jawline, lightly ‘feather’ the blade in an upwards direction. Have a paper towel ready on the bench to wipe the hair from the blade as you go. Continue over the entire area, pulling the skin taught as you go.
How to…
- To remove the hair along your jawline, it is best to pull the skin taught from under your ear and go across the length of your jawbone, rather than upwards.
- When you get to the spot close to your ear, grab hold of your sideburn hair and hold it up to pull the skin tight. You don’t want to remove the hair here that grows from your head, just the hair underneath.
- Once one side of your face has been done, wipe the oil with a cloth and start on the other side.
The chin
If you’re going to cut yourself, the chin is the most likely spot where it will happen, due to the shape of it.
How to…
- To avoid cuts, raise your chin up high and blade from the jawline, across sideways into the centre of the chin. Then repeat on the other side.
- There are always cheeky bits of hair directly under the chin, so make sure you raise your chin up as high as you can and blade from the throat up, adding more oil as you need to.
The throat and neck
It is always surprising how much hair we have on our throats, and if we remove the hair on our faces and not the throat, it becomes very obvious.
How to…
- Keeping the chin held high, add oil to the throat and start from your adam’s apple and feather the blade upwards. If you have a lot of loose skin in this area, be sure to hold it tight by pulling it from above the centre of your collar bones down.
- If you come across a few thick, wiry hairs, you can just blade these too. We prefer blading to plucking, as it avoids ingrown hairs.
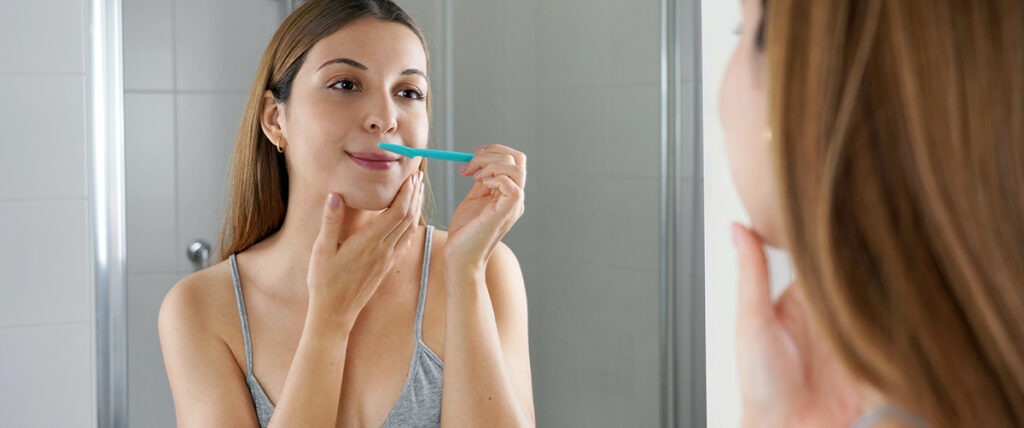
The moustache
Yes, we all have them. Some more than others. This is super easy to blade. Just add oil to the area and hold your top lip over your top front teeth. This will keep the skin taught and lengthen the area for blading ease.
How to…
- Start from directly under the centre of your nose and blade in a downwards direction. It is best not to blade upwards in this area as it can cause cuts to the skin.
- This is also where many older women will find thicker hair, and so blading in a downward direction removes these thicker hairs more easily.
The corners of your mouth
When you are ready to blade the corners of your mouth, fill your cheeks with as much air as you can and puff them out.
How to…
- Adding oil, start blading from the sides and move close to the corner or your mouth where the top and bottom lips meet.
Eyebrows
While you’re at it, you might like to remove the hair from under and even above your brows. Once again, it’s surprising how much of this soft fuzzy hair we have in this area, as you typically only notice the darker brow hairs.
How to…
- Add a little oil and pull the skin up from the end of your brows. Blade in a downwards direction. This can also be done above the brow, once again in a downwards direction. Dermaplaning tools are not great at shaping the brows, but they can certainly remove the soft hair around the brows.
- Check if you have any hair in the temple area, heading up to your hairline too.
Finishing off
To check that no hairs have been left, look in the mirror with natural light behind you and run your hands over each section in an upwards direction. This will pull any leftover hairs up, making them easier to see. Moving your head in different directions will allow you to see any that you missed. Blade any remaining hairs.
Cleanse your face again to remove excess oil, and follow with a moisturiser. We use Société Calming Relief Balm as it adds lots of hydration as well as calming any redness caused by the blading. Avoid any active ingredients such as vitamin A and C serums until the following day when your skin has settled.
Now all you have to do is enjoy your new smoother, fresher looking skin!

Still not sure?
Do you need more help or would like personalised advice? Book now for your consultation with a skin care advisor. Offering information on what skin care products are best for you. Check out our range of in-clinic services today.
Otherwise fill in the Online Skin Consultation. Our skin care advisor will happily help you. Choosing the right treatments and products for your skin type or concern.
Check out our latest Specials!
Leave a Reply